Sunday, September 30, 2012

Halloween Wreath

So, I found this idea on, where else? Pinterest. As usual, I found it months before I actually got around to making it so, I can't remember where to find the original to give credit but I am pretty sure there are many variations and mine is different in that I added my own little embellishments.

Now, first I went online and ordered the feather boas. I only ordered 2 at first but when I started wrapping the first wreath, I knew I was going to make a couple so, I went back and ordered more.

Like any wreath, many different things can be used. I opted to try one of the pool noodles I had seen as an idea when I did Easter wreaths. I tried cutting it in half to make 2 and I am not sure if I would do that again but, it worked.

I spray painted it black a little just in case some showed through and proceeded to wrap it in the boa.


I did wrap it kind of loose so that I had room to push the feathers apart a bit to add my fun stuff:)


i

Now at the $1 store I bought styrofoam balls and eyeball parts, but I also found these packs of skeleton straws that I thought would be cute on there too. I just slid the skeletons off the straws and since they were in 2 parts, just hot glued them together. Then I hot glued the eyes onto the styrofoam balls and used my hot glue to glue sets of eye balls together.


Now that I have everything ready, it was just a matter of placement and arranging. This one is for my son's classroom so I didn't want it to be TOO scary, but I think I managed a fun holiday look.


Of course I was so busy planning the wreath itself, I forgot to add the hanging ribbon first, another little gem I found at the $1 store, but I just pushed the boa apart enough at the top that I could twist the wire edge ribbon and wrap around, then pushed the boa back together to "hide" where I added it.


Of course this pic doesn't show where I "fixed" the spacing better but, you get the idea. On the next one I will make a hole through the noodle, push the ribbon through and just knot it to hold it in firm. 

I always find 100 more idea for each thing I make but....this one sure is fun and I know his class will love it. Once I had all the materials together, I spent less than 45 minutes putting it together and adjusting it all.

SUPER fun! Yes I am aware I am a geek but a creative geek. And that is a good thing! lol

Sunday, September 9, 2012

Ahead of schedule for Veteran's Day decorations

Honestly, I had planned to have these done by 4th of July but, well, I got them done now.

These adorable little cans I found on this blog were super easy and cheap to do. I couldn't find CHEAP spray paint in the right blue so I just dusted some cans I have been saving (coffee, hot chocolate, I save pretty much everything) in white spray paint and then gave them a quick coat in my acrylic blue.

Took a nail and tapped a couple holes in each one...didn't measure or anything.

I had found a star shaped cutter at Goodwill months ago and it came in handy. I just cut a bunch of white paper, I tried card stock but it was difficult and didn't look as good on the cans. I used regular glue to put the stars on, will coat it all with clear spray paint when I am done.

I found the ribbon at the $1 store if you can believe it and the first one I just randomly glued my strands, after that I cut a piece of cardboard and spaced the ribbons more carefully, then just hot glued the cardboard strip  to the inside bottom edge of the can.

I had bought these kind of frilly elastic headbands that never stayed in place in my hair so they have been living in my "potential crafting"pile for a while. I cut the little metal fastener in the middle with wire snips and poked them in the holes, securing on the inside surface with hot glue, totally cute! The others I just used white ribbon.

Anywho, I am going to make more, I certainly have the cans and I find each one gets better.

Sorry I don't have pics of the process, I will try to add some when I do another round.


I even thought about adding some glitter or maybe some blue beads at the bottom of the ribbons but couldn't find a pack of just blue ones. Sometimes, less is more anyway right? I will try to add photos of the process later.
Enjoy!

Sunday, August 12, 2012

Zombie Brain Cupcakes!!!!

This is a combo of a couple recipes I found a few years ago and had waiting for some Halloween in my recipe book.

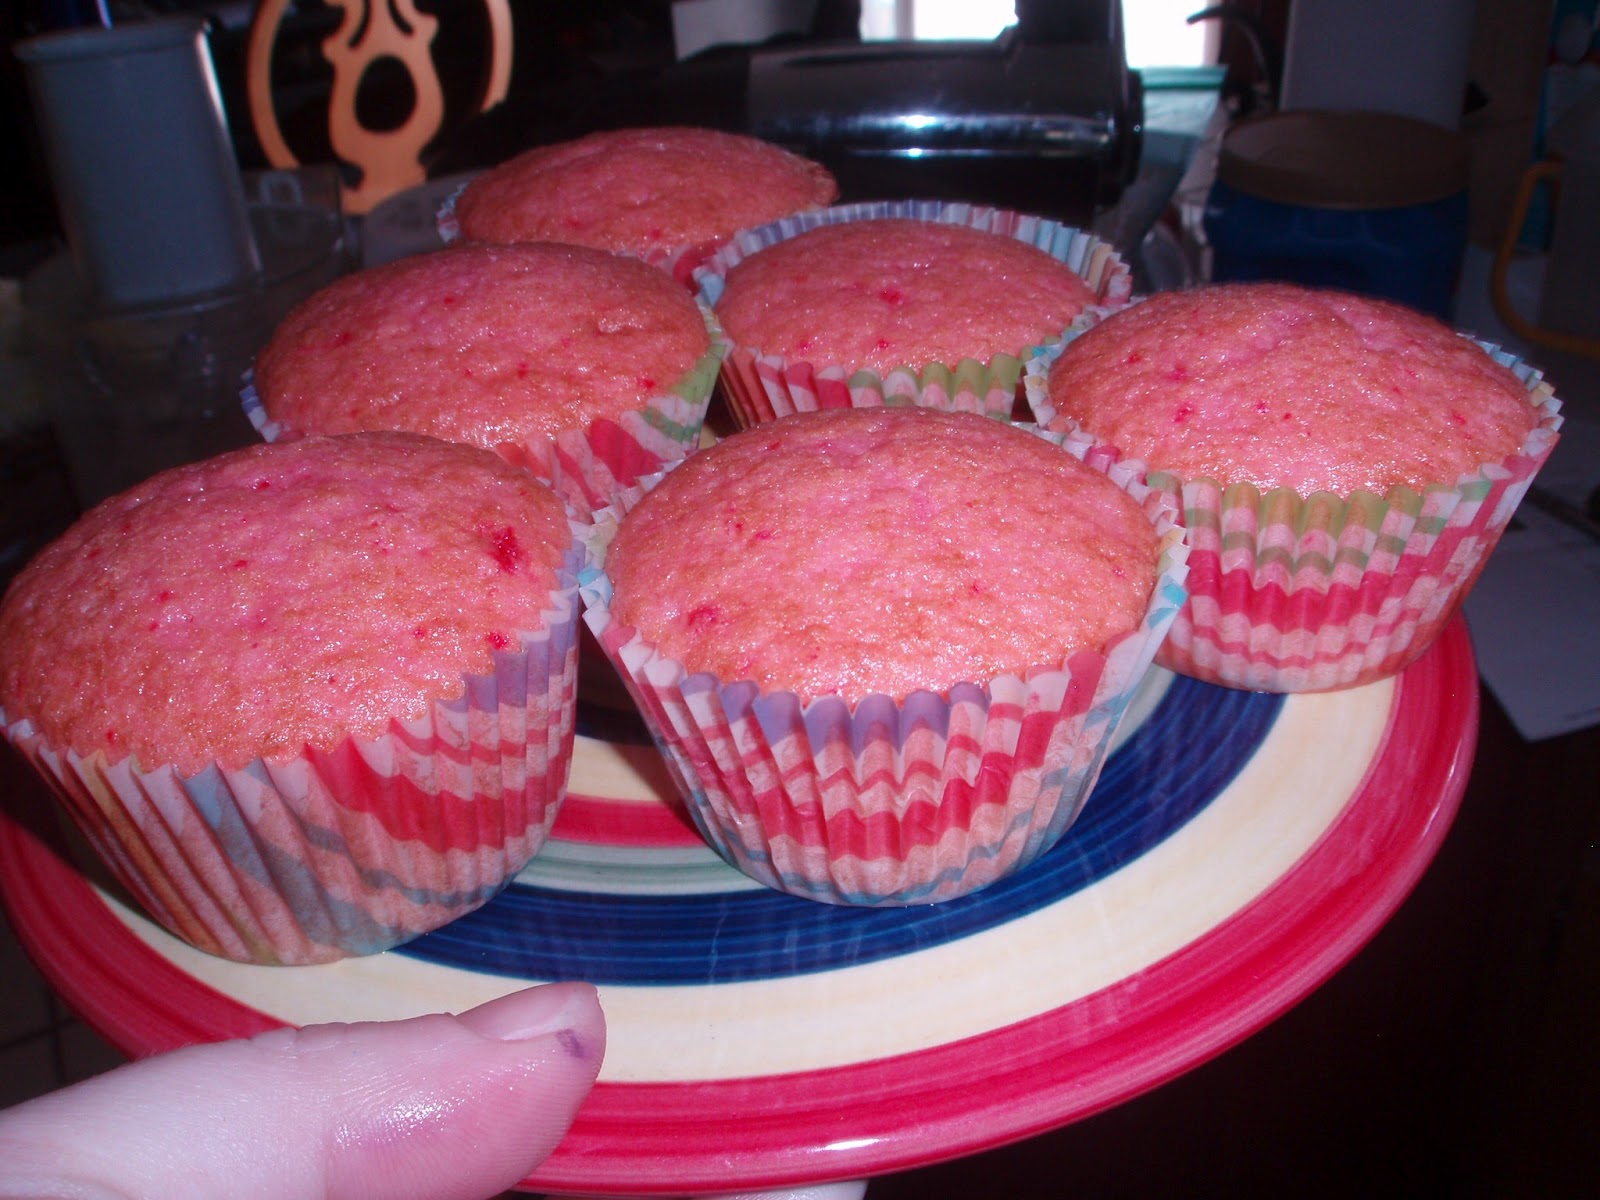
First I made a strawberry cake.


Then I took some white icing and tinted it with black icing tint. I would probably do a pinkish black next time but this is where I started. It looks kind of blue in this pic but, it really is gray.

Now, got the cupcakes out of the oven. And set to cutting holes about dime size in the center of the tops. You need to cut kind of carefully because you are going to save the top of those little circles. I used a paring knife and dug out a little bit of a cavity in the hole and discarded the crumbs. (Actually I ate them :)
Now I have icing bags and tips but I have been cooking all day and didn't feel like digging them out so I just put my strawberry jam in a sandwich bag and cut the corner to squirt the "blood" jelly in the centers. I wanted these to OOZE so I squeezed long and slow to try and get the center as full as possible.


Once I had them all filled with jam, I put the little tops back over the holes. It doesn't matter which one is which, I didn't keep track and it worked out fine.

Now the FUN part! I took a 16 oz "pounder" glass and put the baggie down in it then wrapped a rubber band around the top to hold it while I filled it up with the gray "brain" icing. This was the most clever thing I have done in a while. lol.


A brain has 2 hemispheres right? So I took my icing and scribbled all around half of the cupcake, then went back and did the other half so that it looked like a brain. BUUUT, I let my icing sit out for too long and it was too runny to hold the form :(  I SWEAR they were stinkin' adorable for a minute!


I will post more tomorrow but I wanted to get this blogged before I quit for the night. I gotta get ready for a date with my mister to sit out and enjoy the meteor shower. I will finish these tomorrow and post better BRAIN pics! :)

I can't wait to share these, they are so much FUN!

OK, I finished icing and delivered these goodies but I have decided that when I make these again, I will use a butter cream icing and maybe a bit of meringue powder to keep the brain squiggles a bit stiffer to hold the shape. Here was the finish of my first go round with these fun cupcakes....


Fried Green Tomatoes anyone?

Well, the neighbor has TONS of these and my boyfriend loves them so, time to try and make 'em right?

I Googled some recipe and did a 4 TBS milk/1 egg wash and it called for 1 cup flour and 1 cup corn meal. I got everything set up and got busy.


I put some vegetable oil in my cast iron skillet and got down to business. First I dunked the slices in the egg and milk mixture, then dredged in the corm meal/flour mixture....then into the pan.

I realized pretty quick that I had accidentally gotten the grease too deep for my tomato slices. The deep grease made the breading all but disappear.


So here are my very first fried green tomatoes. I tasted them and they are ok but I probably won't be craving them. But I did get some ideas on how to make them better (but not healthier).

I emptied my pan and added bacon grease and shortening instead of the vegetable oil. Then after reading a bit online, I saw where some people use just milk instead of egg and milk.

I wanted mine to be crunchy with a bit more breading so, I added more corn meal and a step to my process. I used milk first, then the corn meal/flour mix THEN the egg/milk and one last time in the corn meal/flour before putting them in the pan.

Now, these should be good! I can say that the bacon grease/shortening gave them MUCH more flavor but I would skip the extra corn meal next time, it was a bit too grainy with how much more I added.

I also need to research good things to eat with them or something to dip them in....the extra taste of the dip may be just what I need to really enjoy these Southern treats.

Wednesday, July 18, 2012

So, a couple of weeks ago I went looking for some new breakfast recipes to keep things interesting for my mister. I found a bunch that I have every intention of trying but this morning, I happened to have the ingredients for these yummy looking Bird's nest goodies from The Little Birdie Blog.

I did some things different, first I deep fried ready cut hash brown patties and cut them in half. I also used precooked sausage patties and just cut them up into small pieces, then I whisked some egg with milk. I sprayed my cupcake pan and put in my hash brown halves, poured the egg/milk mixture, put a few pieces of baby spinach in each one, in some I added a few shreds of mozzarella cheese, some I put the sausage on first,  so I could see how the spinach cooked in the 15 minute bake time.

Here is a pic of the egg on the hash brown with some spinach...


And one with some sausage and cheese added....
So, now they are ready to bake...15 mins and....I am a hero this morning around the house :)
They are pretty cheese-y but I LOVE cheese so, in my opinion, you can never have too much cheese! The boyfriend said they were really good, but suggested I try bacon next time :) I told him that was the original recipe but I didn't have any thawed this morning :) We will be having these again, there are so many possibilities...ham, bacon, chorizo, mushrooms, YAY for kitchen experiments! <3

Friday, May 25, 2012

Cute little pots for Queso's aide..

Well, my son being special needs, has his own personal aide. His aide this year is WONDERFUL and spoils him so much he finally likes going to school again. So, of course I needed to do something extra special for her for the last day of school. She told me her favorite color is pink and I know she loves growing things so...when I came across these little greenware pots at goodwill, I grabbed several as my mind was churning out ideas.

Now, when I bought them I thought green meant like, organic or something like that, then I found out that it means ceramic that hasn't been fired. Well, not one to be discouraged, I just coated the whole thing with white acrylic paint, let it dry then did it again. I filled one of these up with soil and watered it down really well to see if it would destroy the pot and left it overnight. YAY! It didn't affect it at all so, I emptied it and set to painting them.

Now I got 4 of these little pots for about $1.25 and when I was at the $1 I found little clear plastic trays that would work perfect. I only sprayed the bottom of this so that it wouldn't get scratched up from the bottom of the pots.

After I got them all coated well, I went over them again with a triple thick clear coat (spray paint style) and prepared to embellish them.
I had some sparkly ribbon I had got at the $1 store around the holidays for wrapping gifts and found this horrid pink gemstone necklace I had picked up from a free posting on Craigslist in Oregon. I took some wire cutters and cut the gems into separate pieces and got at it with my hot glue gun.
I am not in love with the placement or really even the pink "bling" but she at least pretended to love it so, it was fun and in the end, I think I spent @ $3.50 to make this since I paid about $1.50 for the little tray of flowers.

I would do this again but I would just buy terra cotta pots and maybe more little jewels to kind of cover them in gems since she told me she loves the bling. But there it is, an end of the year gift that is nothing like any other she is bound to ever get :)

Thursday, May 24, 2012

Crayon Wreath for Queso's Teacher

WOW! It's been a long few days. I had all these ideas for end of year gifts in my head for months now. As per usual these days, I looked up and it was the end of the year and I didn't have a single one even started.

So, I poured through Pinterest as I had pinned several ideas I had in mind. This wreath was a MUST do for me, it is just so stinkin' cute. The problem was, no one pinned properly and it took FOREVER to find any tutorials. When I finally found some, several said they used 2 embroidery loops to make the frame. I didn't have the correct sizes and on an extreme budget, I found this fabulous tutorial at PerpetualBlinddates blogspot and I loved not only that she used cardboard but that she covered it in glitter for a little extra bling behind the crayons.

Since she didn't really give any measurements, I laid out crayons the way I wanted them spaced and found a hat box that was exactly the right size for the inside of my cardboard circle.I only laid out 1/4 of the wreath for this) The I held my crayon up to it and decided about 2 inches was what I needed for workable space.

I also figured the crayons would be heavy, so I doubled up my cardboard rings and hot glued them together.for more support. I wish I had the foresight to hot glue my hanging ribbon in between those but, next time.

Moving on, I then covered it in a pretty turquoise craft paint and sprinkled that with glitter.
Then, when it was dry, I hot glued some ribbon around the outside edge in case it ended up being visible, which it wasn't, but, oh well.


Now every one I saw said to lay them all out first to make sure of you spacing and they all used hot glue. I am doing about 5 projects this evening and didn't want to lay them all out then worry again when gluing them down getting the labels all facing the right way, so I didn't use hot glue, I used this adhesive I found at the dollar store called Amazing GOOP Household. It was AWESOME, dried slow enough to let me move the crayons around if I needed to as I worked around but quick enough that I was able to finish my project this evening.


I found this adorable little "flip letter" toy at Goodwill for under $2 and this cute little apple that was more country colors so I just covered it in more vibrant red & green.
Now I cut little pieces of cardboard, put hot glue where I wanted my ribbon connected, placed the ribbon, added more hot glue, then put the cardboard on top of that and put 2 staples over it before it dried. Probably over kill but I didn't want it to fall and be destroyed.

Now I took apart the letters and spelled out his teachers name, I am lucky, there were no repeat letters. I have wooden craft letters from Michael's so my plan had been to paint those and spell it out..So, I placed everything and when happy, hot glued those bad boys down and there you have it, an ADORABLE wreath for her classroom door! (Had to save the apple for another craft) 

There it is, adorable as it could be and aside from not really being happy with the ribbon hanger placement, I am madly in love with this wreath! :)

Stay tuned only about 5 or six more coming, hopefully tonight...